
A idea of this tutorial I got from Missy Overlay tutorial for PSP.
For this tutorial you will need:
The Dragon Fly Sinedots filter - download here.
The FunHouse Zigzaggerate filter - download all funhouse here.
Optional Sparkle filter you can download on PIRC in Downloads section.
Lady tube from Marygrafix.co.uk
download here.
Open a new image - 400 x 400. Fill with solid black color. Right click - select all and then convert to object. Remember that you can apply sinedots filter only on objects and not directly on background. Go to Effects/DragonFly/Sinedots and use settings shown bellow. And don't forget to uncheck inverse. You can play around and choose your own settings. Click on OK.
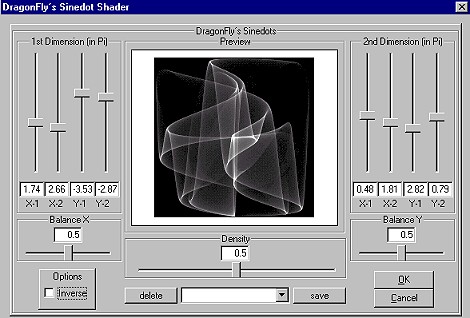
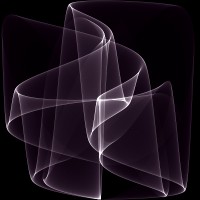
With your sinedot object still selected, go to Format/Color Balance and choose right side thumbnail on the bottom row. Click on OK. This will color your image. Again, you can choose the color you like most.
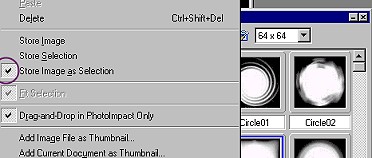
Duplicate your sinedot object and drag it into workspace to create a new image. We will make a mask. First of all, go to sinedots filter again and apply the same settings: it will make your mask more transparent. Merge all and convert to greyscale image. Open your easy pallete object library and right click on any thumbnail - check position "Store image as selection". Now right click on your grayscale image - select all and convert to object. Go to Selection/Copy selection in object library. Save in your favorite gallery. Close the grayscale image.

Now go back to your basic image. Duplicate again your object - drag into workspace and merge all. Now go to Effects/FunHose/ZigZaggerate and apply the default settings. With standard selection tool shape=rectangle, soft edges=0 draw in a more colorful area selection. Go to Web/Seamless title and click on OK. Copy your new seamless title into clipboard.
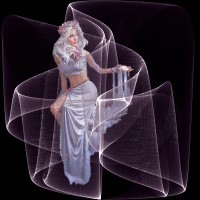
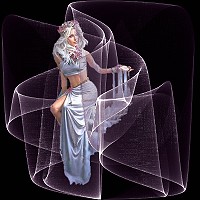
Open a new 400 x 400 image and fill with seamless title. Find the mask you made and apply on this image, right click and convert to object - copy and paste into your basic image and send to back. Don't worry if you do not see it. Put your lady object into the image - chose the position you like and send back. Now select the object with sinedots - right click and chose properties, merge Inverse of multiply. Do not disselect.
You can leave your image like that, but you can also make it a little bit more interesting.
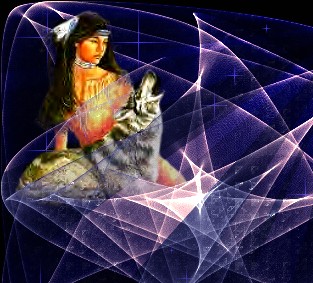
Your sinedots layer should still be selected, pick up the eraser tool with settings - shape=20, soft edge=0 and carefully clear out the part of the lady you want to show up more. Then, using your layer manager in easy palette, select your layer with the mask and do the same.
This step is optional. Go to layer manager and disselect all by clicking on free space. Now go to Effects/VM natural/Sparkle and set settings max size=56, red=255, green=172, blue=255, rnd color=off and random seed of your chose. Click OK. You can experiment also with particle effects.
Gallery index | Home | Backgrounds | WEB sets | Photo Impact pages | Resources
Copyright © Sandra Auzina Bonello 2001
Camelia's Designs
white_camelia@hotmail.com